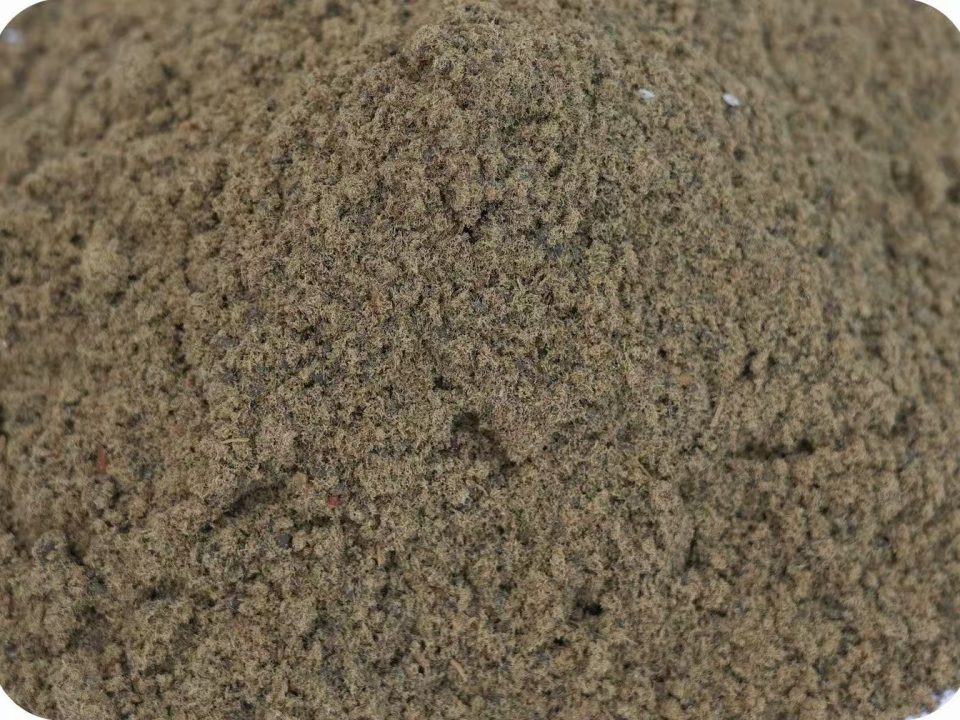
Step-by-Step Chicken Meal Feed Manufacturing Process

Effects of Chicken Meal Feed on Growth Performance and Protein Assimilation in Fish
December 7, 2024
To provide a comprehensive analysis of the benefits of chicken meal in animal feed
December 10, 2024Step-by-Step Chicken Meal Feed Manufacturing Process
Introduction
Chicken feed is a critical component in poultry farming, directly influencing the health, growth, and productivity of chickens. The manufacturing process of chicken meal feed involves precise steps to ensure the feed is nutritionally balanced, safe, and cost-effective. This article provides a detailed, step-by-step guide to the chicken meal feed manufacturing process, covering raw material selection, processing techniques, and quality control measures.
Step 1: Selection of Raw Materials
The first step in chicken meal feed manufacturing is selecting high-quality raw materials. These materials must meet nutritional requirements and be free from contaminants.
Common Ingredients:
- Protein Sources: Soybean meal, fish meal, corn gluten meal, or meat and bone meal.
- Energy Sources: Corn, wheat, barley, or rice bran.
- Vitamins and Minerals: Premixes containing essential vitamins (A, D, E, etc.) and minerals (calcium, phosphorus, etc.).
- Additives: Enzymes, probiotics, and antioxidants to enhance digestion and feed quality.
Key Considerations:
- Raw materials should be fresh and free from mold, toxins, or harmful bacteria.
- Nutritional composition should align with the specific requirements of the chickens (e.g., broilers, layers, or breeders).
Step 2: Grinding and Crushing
The raw materials are ground into fine particles to ensure uniform mixing and easy digestion by chickens.
Process:
- Hammer Mills or Roller Mills: Used to crush grains and other solid ingredients into smaller, uniform particles.
- Particle Size: The size of the particles depends on the type of chicken feed being produced (e.g., fine for chicks, coarser for adult chickens).
Benefits:
- Improves the digestibility of the feed.
- Ensures uniform mixing of ingredients in later stages.
Step 3: Batching and Weighing
Accurate batching and weighing of ingredients are crucial to ensure the feed meets the desired nutritional profile.
Process:
- Automated Systems: Modern feed mills use computerized batching systems to measure ingredients precisely.
- Manual Weighing: In smaller operations, ingredients may be weighed manually using scales.
Importance:
- Prevents overuse or underuse of specific ingredients.
- Ensures the feed meets the nutritional requirements for the target poultry group.
Step 4: Mixing
The weighed ingredients are mixed thoroughly to create a uniform feed blend.
Process:
- Mixers: Horizontal or vertical mixers are used to combine the ingredients.
- Mixing Time: Typically ranges from 3 to 5 minutes, depending on the equipment and feed type.
Objective:
- Achieve a homogenous mixture where all nutrients are evenly distributed.
- Prevent nutrient segregation during storage or feeding.
Step 5: Conditioning
Conditioning involves adding steam, heat, or moisture to the feed mixture to prepare it for pelleting or extrusion.
Process:
- Steam Injection: Steam is added to increase the temperature and moisture content of the feed.
- Temperature Range: Typically between 80°C and 90°C (176°F to 194°F).
Benefits:
- Improves the binding properties of the feed.
- Enhances the digestibility and palatability of the final product.
- Reduces microbial contamination.
Step 6: Pelleting or Extrusion
The conditioned feed is processed into pellets or crumbles, depending on the type of feed required.
Pelleting Process:
- Pellet Mill: The feed mixture is forced through a die to form cylindrical pellets.
- Pellet Size: Varies based on the age and type of chickens (e.g., smaller pellets for chicks, larger pellets for adults).
Extrusion Process:
- Used for high-fat or high-moisture feeds.
- Produces expanded or puffed feed products.
Advantages:
- Reduces feed wastage by minimizing spillage.
- Improves feed intake and growth performance in chickens.
Step 7: Cooling
The hot pellets or extruded feed are cooled to room temperature to maintain their quality and prevent spoilage.
Process:
- Counterflow Coolers: Used to cool the feed by circulating air in the opposite direction of the feed flow.
- Temperature Reduction: Pellets are cooled to within 5°C of ambient temperature.
Importance:
- Prevents moisture buildup, which can lead to mold growth.
- Ensures the feed is firm and durable for handling and storage.
Step 8: Screening and Crumbling
The cooled pellets are screened to remove fines (broken pellets) and, if necessary, crumbled into smaller particles.
Screening:
- Ensures uniform pellet size by removing oversized or undersized particles.
Crumbling:
- Used to break pellets into smaller pieces for younger chickens, such as chicks.
Step 9: Packaging and Storage
The finished feed is packaged and stored in a way that preserves its quality and nutritional value.
Packaging:
- Bags: Feed is typically packaged in 25kg or 50kg bags for distribution.
- Bulk Storage: Large-scale operations may store feed in silos for bulk delivery.
Storage:
- Store in a cool, dry place to prevent moisture absorption and mold growth.
- Use airtight packaging to protect against pests and contamination.
Step 10: Quality Control
Quality control is essential throughout the manufacturing process to ensure the feed meets safety and nutritional standards.
Testing:
- Nutritional Analysis: Verify protein, fat, and mineral content.
- Microbial Testing: Check for harmful bacteria, such as Salmonella.
- Physical Properties: Assess pellet durability and size uniformity.
Certification:
- Comply with local and international feed safety standards, such as HACCP or ISO certifications.
Conclusion
The chicken meal feed manufacturing process is a carefully controlled operation designed to produce high-quality, nutritionally balanced feed. From raw material selection to packaging, every step plays a vital role in ensuring the feed meets the needs of poultry while maintaining safety and efficiency. By following these steps and implementing rigorous quality control measures, manufacturers can produce feed that promotes the health and productivity of chickens.


